Welcome to my new tutorial on Excel automation! This first tutorial is just going to cover setting up Excel so that you are able to write VBA code and are organized in the future. Let’s get started.
First we need to open Excel.
Next, we need something called a code editor. There is a hidden one that comes with excel — and really any product in the office suite — which can be found with just a few clicks.
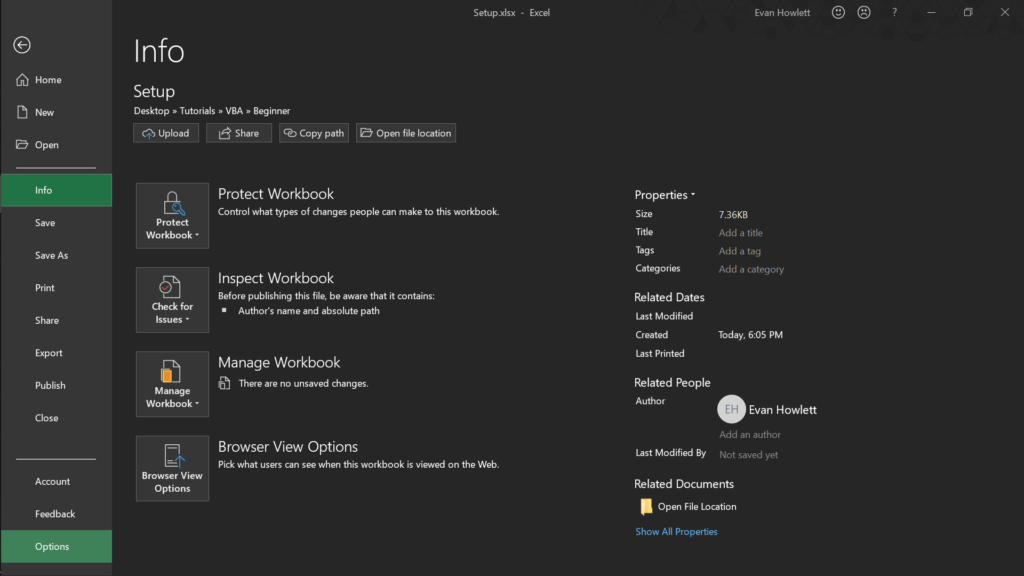
Now, click the “File” tab in the top horizontal menu.
Next click “Options” all the way at the bottom of the left vertical menu.
Once you’ve clicked “options” a dialog box will appear with another vertical menu on the left side. Look for the tab that says “Customize Ribbon”1
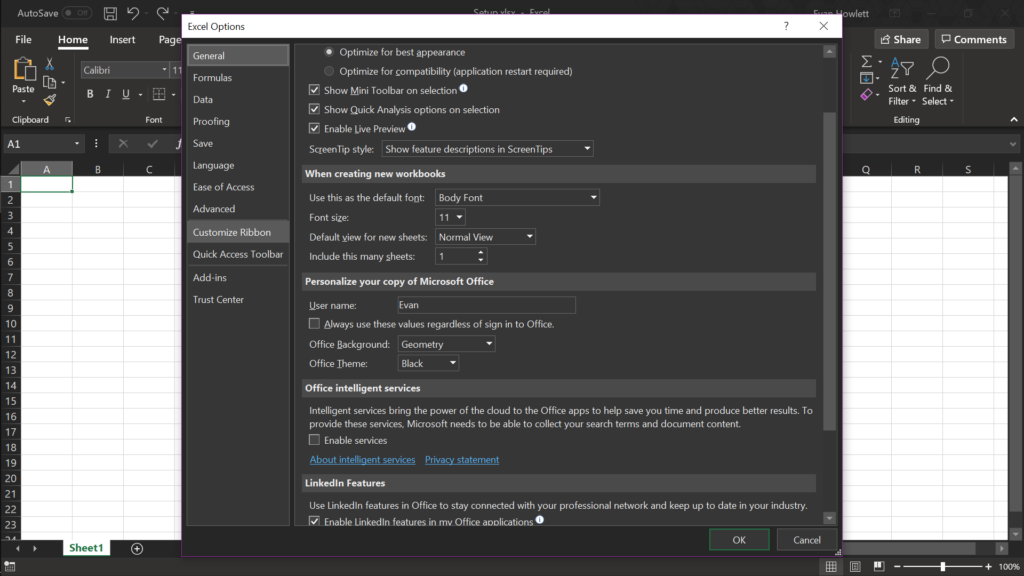
This will bring up a new section of the dialog box with two vertical menus. What we’re looking for is located in the one on the right titled “Customize the Ribbon”.
Click the checkbox next to “Developer”.
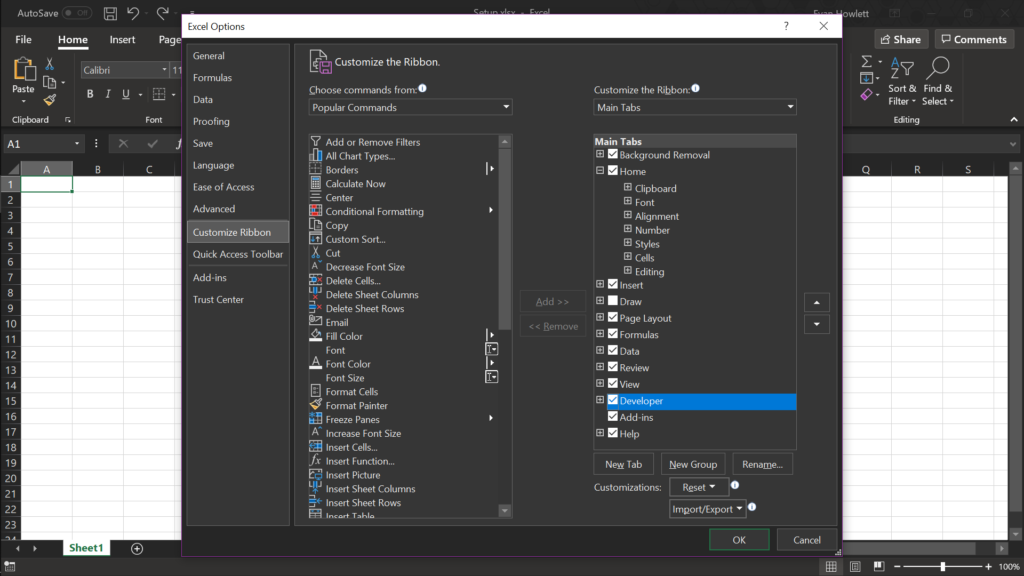
Click “OK” at the bottom of the dialog box and you can now find the “Developer” tab in the ribbon.
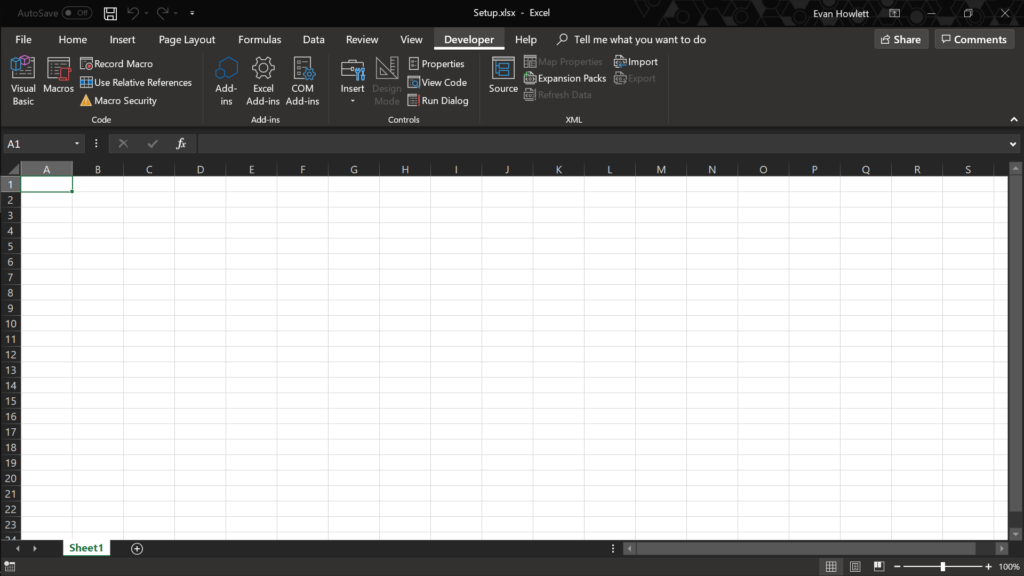
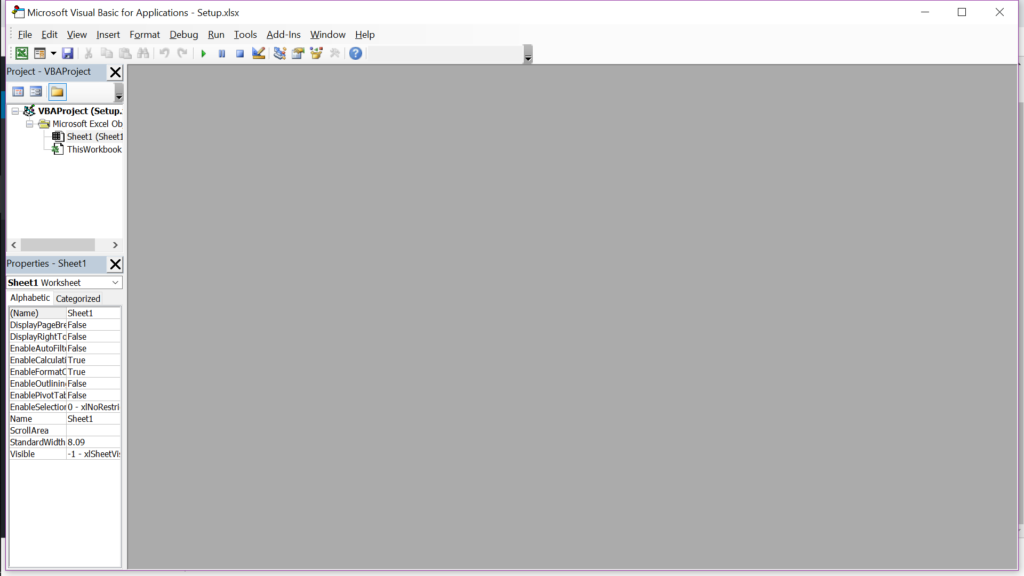
Once selected, the sub-menu under the ribbon will have an object that says “Visual Basic”. This is where you can find the editor living. Click on it and voila!
Now that you’ve set up Excel to for writing code.2 We’re ready to start the long and arduous journey of becoming programmers. YAY! In the next
- The ribbon is the main navigation menu where we clicked on the “File” tab.
- These same steps can be used for any product in the office suite.
Heck you can even put VBA into PowerPoint presentations!